Using the Author Bulk Publish Tool
This guide provides detailed instructions for using the Author Bulk Publish Tool, including launching the tool, selecting courses, configuring publish settings, monitoring build progress, and managing logs.
Launching the Tool
-
Navigate to the author-publish-win32-x64 directory.
-
Launch author-publish.exe.
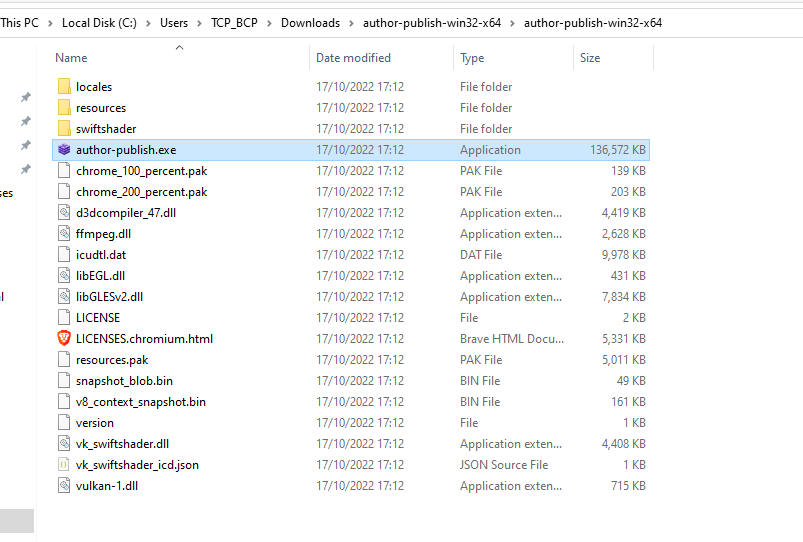 Figure 1: Author Publish Directory
Logging In
-
When the tool is launched, the Login View will appear.
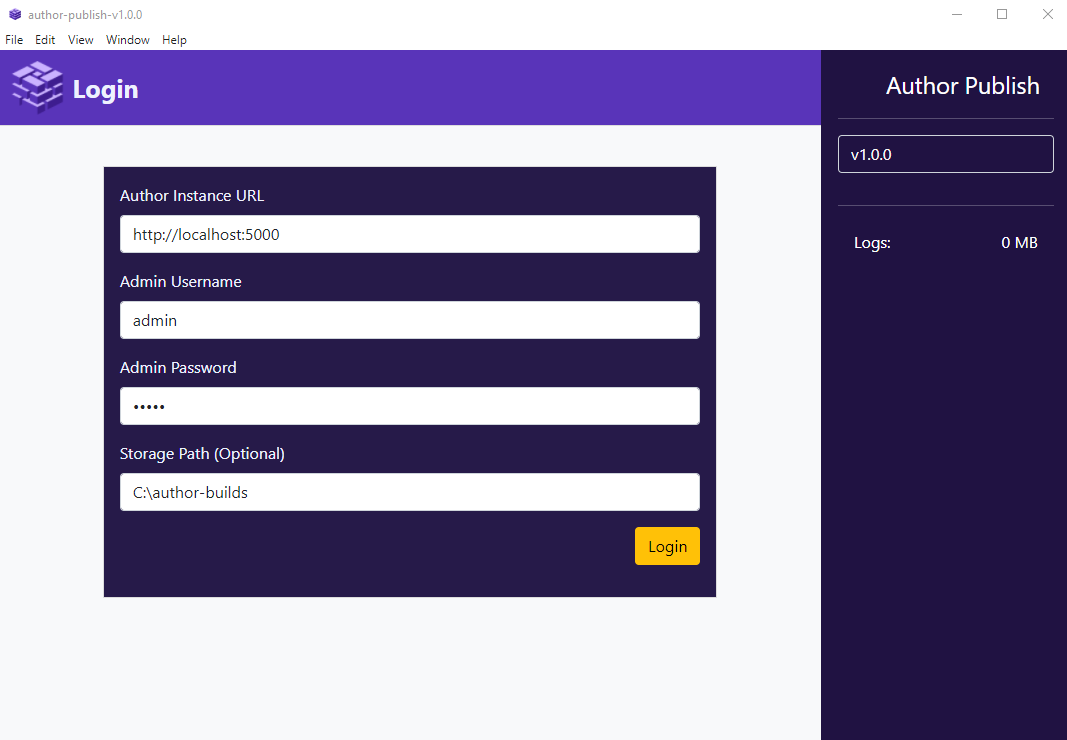 Figure 2: Login View
 -
Enter your credentials and click the Login button to proceed.
Selecting Courses
-
After logging in, the Course Selection View will be displayed.
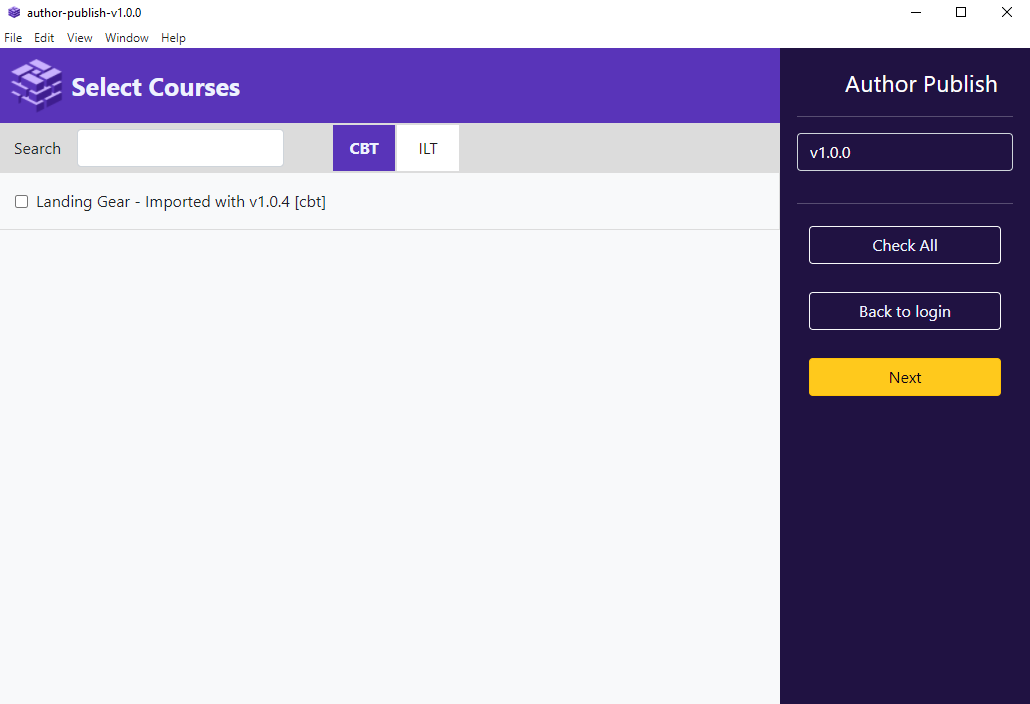 Figure 3: Select Courses View
 -
The view will automatically load all courses from the tenant associated with your account.
-
Use the CBT and ILT buttons to filter courses as needed.
-
Optionally, search for courses by title.
-
Check the boxes for all courses to be published and click Next.
Publish Settings
CBT Publish Settings
-
Apply CBT publish settings.
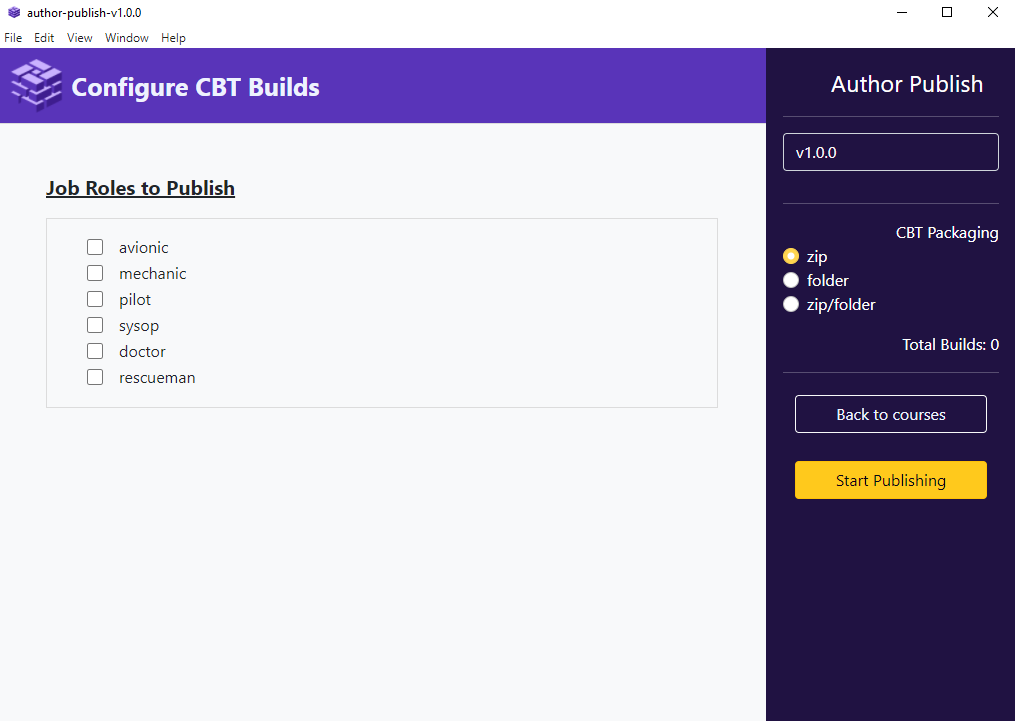 Figure 4: CBT Publish Settings
 -
Select desired job roles from the left-hand sidebar.
-
Configure CBT Packaging:
- zip: No additional operations are performed.
- folder: Extracts the course archive and removes the original ZIP package.
- zip/folder: Extracts the course archive and keeps the ZIP package alongside.
-
Click Start Publishing when settings are complete.
ILT Publish Settings
-
Apply ILT publish settings.
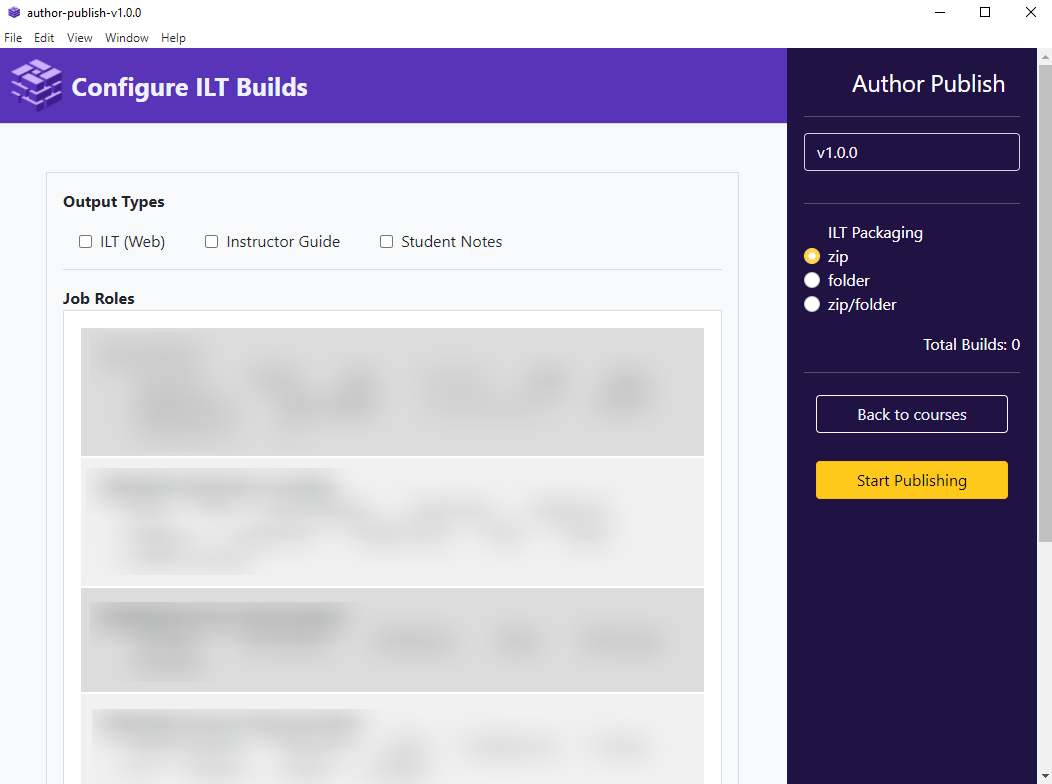 Figure 5: ILT Publish Settings
 -
Select desired output types (e.g., ILT/Instructor Guide, Student Notes).
-
Choose the targeted job roles.
-
Configure ILT Packaging:
- zip: No additional operations are performed.
- folder: Extracts the course archive and removes the original ZIP package.
- zip/folder: Extracts the course archive and keeps the ZIP package alongside.
noteILT Packaging applies only to the ILT (Web) option.
-
Click Start Publishing to proceed.
Build Progress
-
During the publishing process, the Build Progress View provides real-time feedback.
 Figure 6: Build Progress View
 -
The process is complete when the Go To Courses button becomes visible.
 Figure 7: Bulk Publish Finished
Bulk Publish Logs
-
Each publishing session generates a log file stored in the following directory:
resources\app.webpack\main\logs
 Figure 8: Bulk Publish Logs
 -
Monitor log file sizes to prevent excessive storage usage.
-
View the Logs label in the login view to check the size of the logs directory.
-
Use the Clear button to clean the logs directory when logs are no longer needed.
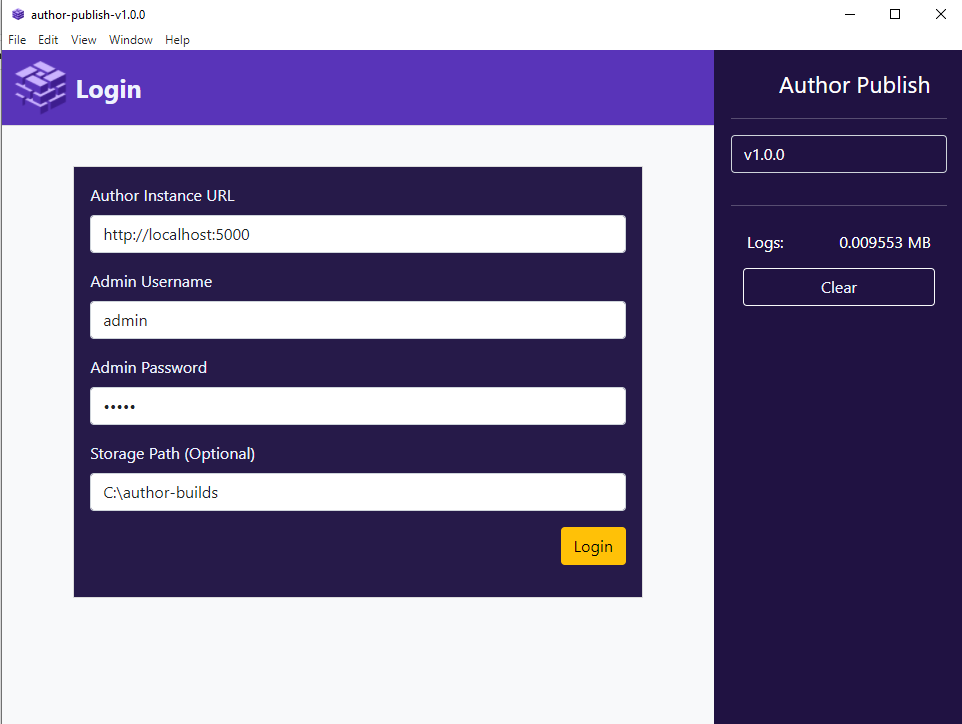 Figure 9: Clear Logs Button